Your First Amigurumi: A Beginner's Weekend Project
Amigurumi is the Japanese art of crocheting small stuffed toys. It looks advanced, but most amigurumi uses only a handful of basic stitches worked in a spiral.
With a simple pattern, the right supplies and a little patience, you can finish your first plush in one weekend. Here is how to plan it.
Pick a beginner friendly pattern
Choose a pattern with few separate pieces. Every extra arm, ear or leg means more sewing, and sewing is where most first projects stall.
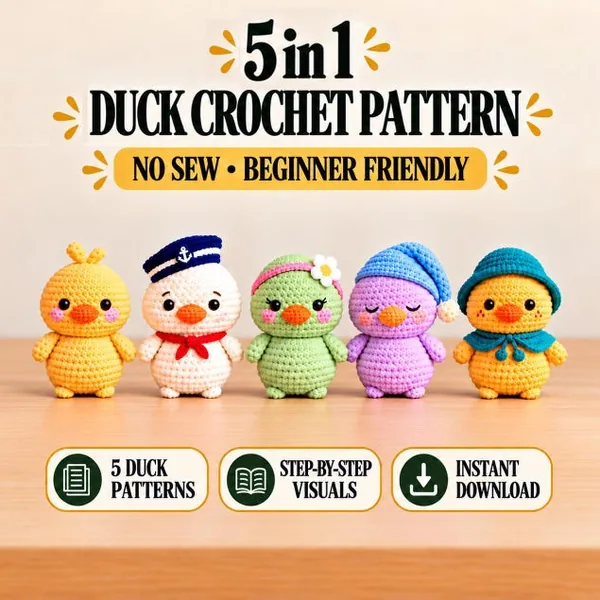
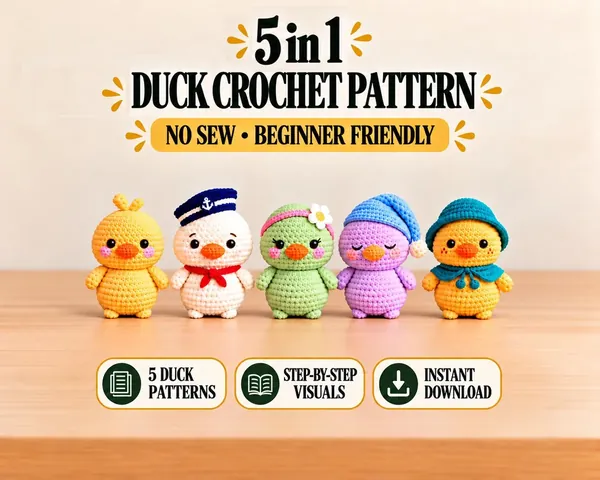
Look for picture guides, stitch counts at the end of every round and a materials list. A no sew pattern, where limbs are crocheted on as you go, is the gentlest start of all.
Gather your supplies
- Worsted weight cotton or acrylic yarn in a light color
- A crochet hook one or two sizes smaller than the yarn label suggests
- Safety eyes, or embroidery thread for babies and toddlers
- Polyester fiberfill stuffing
- A stitch marker, a yarn needle and scissors
Light colors make your stitches easier to see. Avoid fluffy or very dark yarn for your first toy.
Why a smaller hook?
Amigurumi needs a tight fabric so the stuffing does not peek through. Using a hook slightly smaller than usual closes up the gaps between stitches.
If you can see stuffing through your work, go down another half size.
Learn the magic ring
Most amigurumi starts with a magic ring, an adjustable loop that pulls tight so there is no hole at the top of the head.
Wrap the yarn around two fingers, insert your hook, pull up a loop and chain one. Work your first round of single crochet into the ring, then pull the tail to close it.
It feels fiddly the first few times. Practice it three or four times on scrap yarn before starting your real project.
Work in a spiral and count
Amigurumi is usually worked in a continuous spiral, without joining each round. Place a stitch marker in the first stitch of every round so you know where it begins.
Count your stitches at the end of every round and compare with the pattern. Catching a mistake after one round is easy. Catching it after ten is not.
Increases and invisible decreases
An increase is two single crochet stitches in the same stitch. This is how the head grows outward.
An invisible decrease joins two stitches using only their front loops. It closes the shape smoothly without leaving holes, which matters for a neat finish.
Stuff as you go
Add stuffing before the opening gets small. Push it in a little at a time and shape with your fingers.
Firm stuffing keeps the toy's shape, but too much stretches the stitches. Aim for a toy that feels squishy yet holds its form.
A simple weekend plan
- Friday evening: gather supplies and practice the magic ring
- Saturday morning: crochet the head and body
- Saturday afternoon: add details like wings, ears or a beak
- Sunday: face details, finishing and photos
Take breaks. Tension changes when your hands get tired, and a fresh start makes neater stitches.
Finishing touches
Place safety eyes before you close the head, and check their position with a stitch marker first. For a child under three, embroider the eyes with thread instead.
Weave in your yarn ends by pulling them through the body and trimming close. Your first amigurumi is done.
Find more ideas on our Crochet Patterns shelf.